Build a free writer’s portfolio with Carrd
Share:
It’s 2021. You’re a writer. You need an online presence. You should have a website portfolio of all of your writing. No excuses.
But it’s haaarrd, I hear you say. There are so many options and so much to set up: domains, CMSes, WordPress, Webflow, Wix, Squarespace… what do I choose?
I’ll tell you. Choose Carrd.
What’s Carrd? I’ve never heard of that! Also, it’s spelled funny.
I know, I know. It’s kinda niche and it’s spelled weird. But it’s free (and if you get the paid option, it’s dirt cheap), super easy to use and makes beautiful websites that are fast and mobile-friendly. Having a fast website that works on phones isn’t just for convenience; they’re two of the most important ranking factors which Google and other search providers use to rank websites. This means websites made with Carrd will appear higher on Google.
Also, it’s made by a single indie maker instead of a big corporation, and it’s kind of cool to support him.
I recommend using it to set up a landing page that serves as a central hub to all your writing across the web. This means you can leave all your articles exactly where they are, and just link to them from a single site, which also hosts links to your social profiles and contact information.
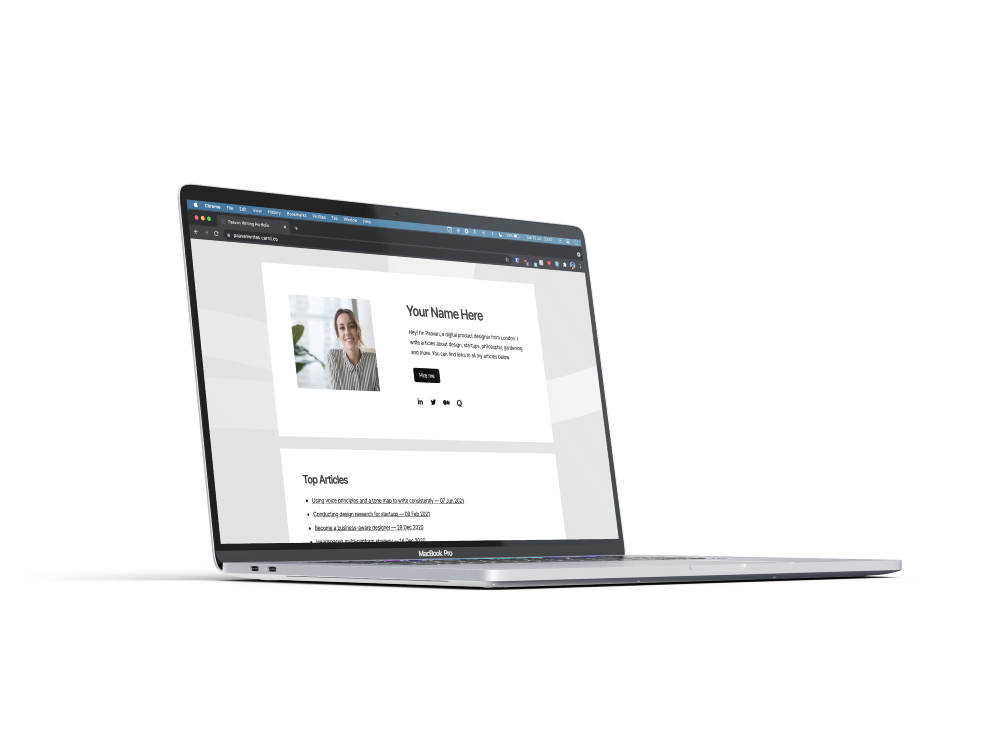
Click here to see an example site of what you’ll be making.
Ready? Let’s get started.
Step 1: Choose a template
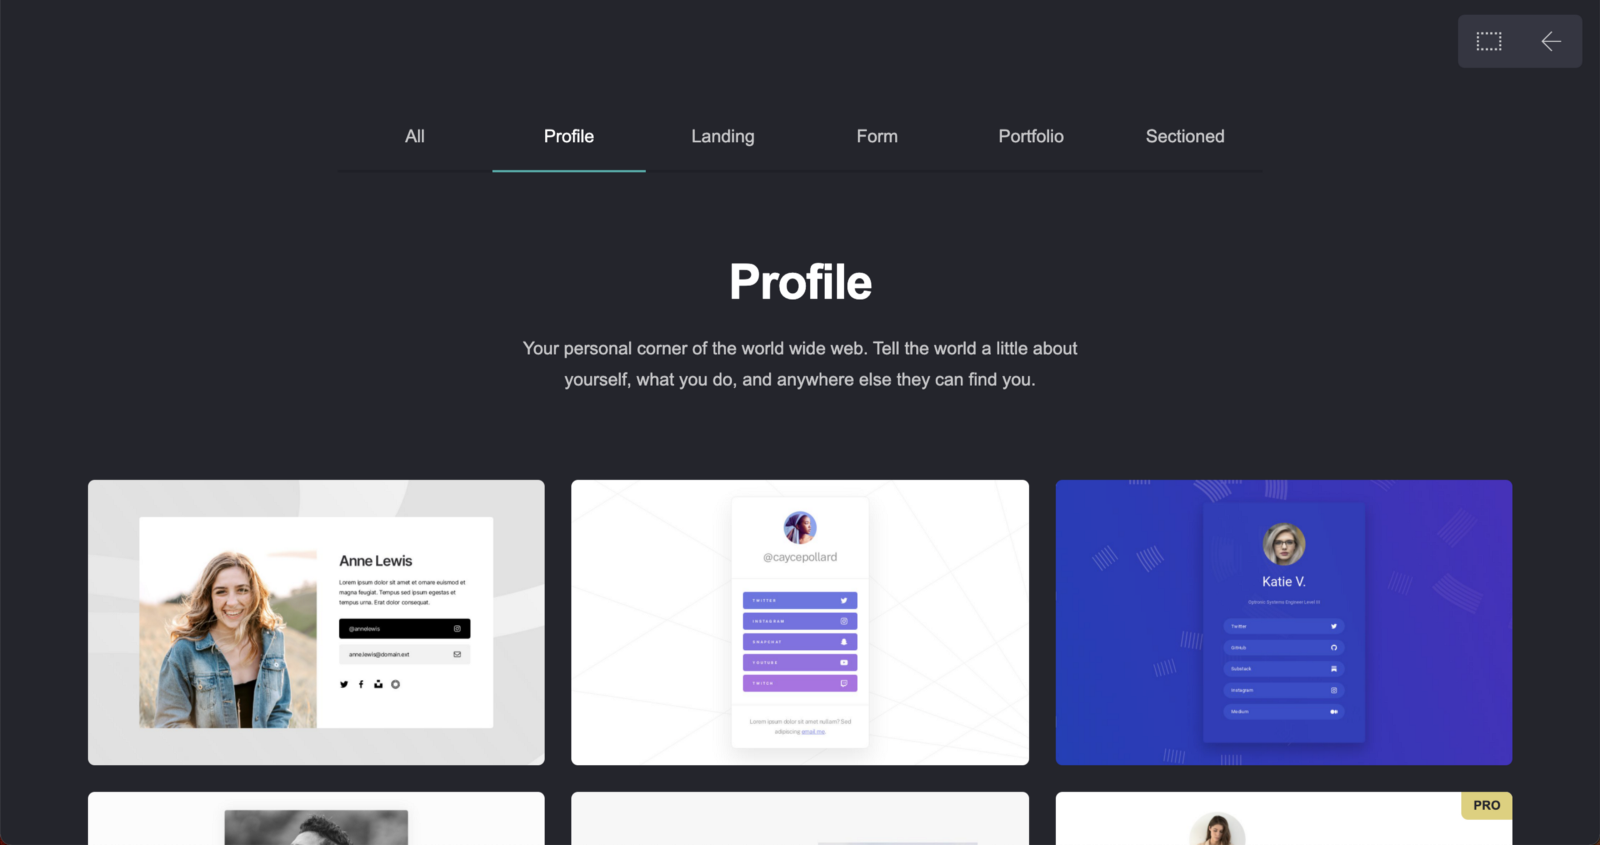
Visit carrd.co and choose a template to get you started. Don’t worry about any of the pro templates, for now, just get going with a free one. I like this first one in the Profile section, but you do you.
Step 2: Replace the dummy content
You’ll see the website template comes pre-populated with some dummy text and some buttons. Write your name, a quick intro for yourself, and add a photo and any social links you might want to include.
Editing in Carrd is really easy. You’ll get a sidebar pop up whenever you click on something that lets you edit the content and style.
Don’t worry too much about changing colours and other properties. For now, stick with what the template gives you. (If you do want to personalise it a bit more, I recommend choosing a colour theme and sticking with that, so that it all fits together.)
Step 3: Add links to all your articles
There are two ways to do this: either by making a new section or having them all on your homepage.
For my site, I linked to my most popular articles on the home page and had a separate section below which had everything organised by category. If you write regularly for the same publications, you may want to separate your list of articles by that.
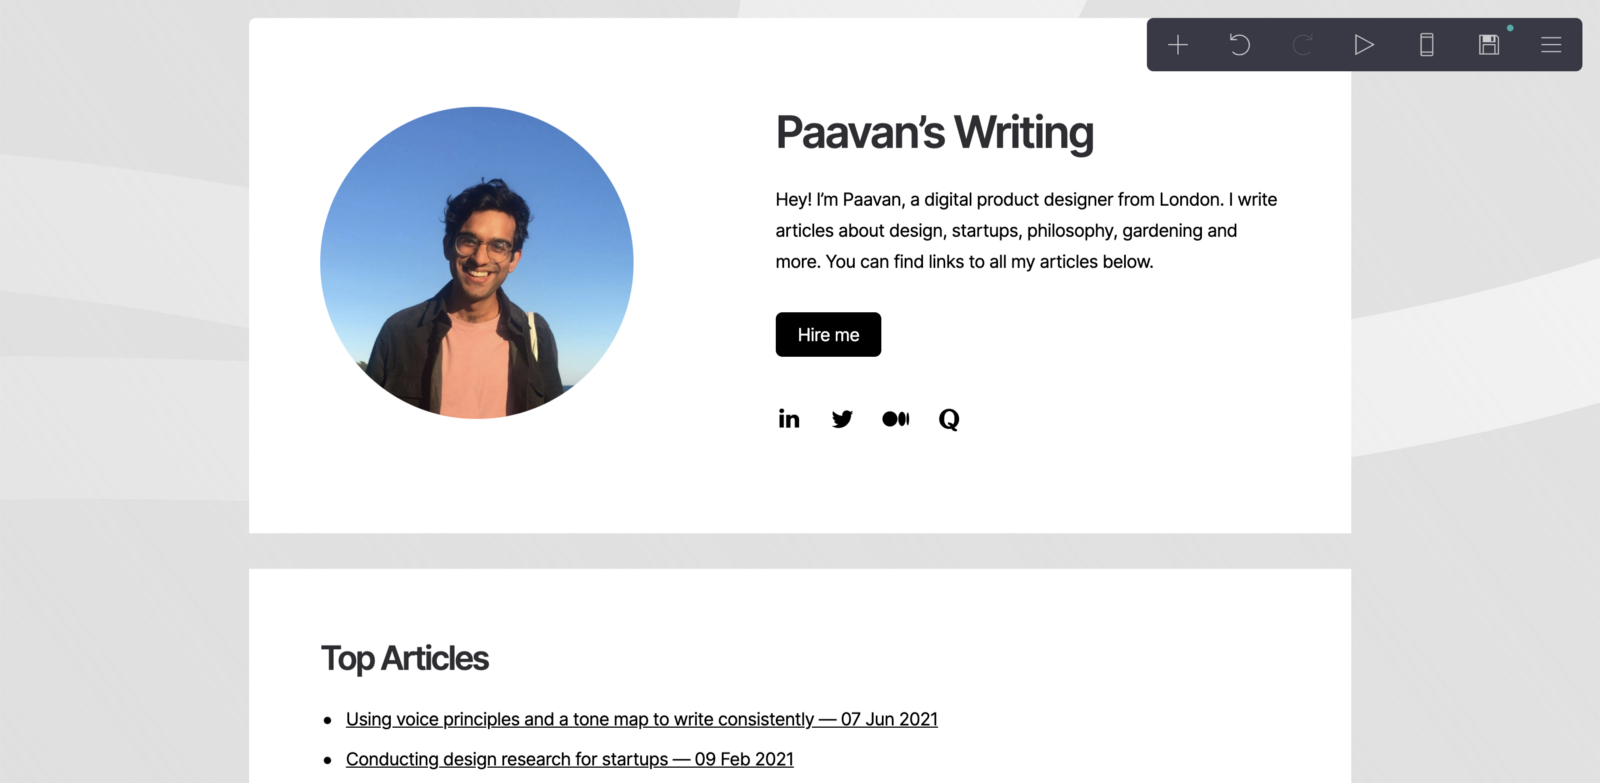
Here’s what mine ended up looking like after only 5 minutes of tweaking. I made a new section below the header section for all my links and pasted them in, and changed my photo size to be smaller and have a circle shape.
Step 4: Add a CTA
CTA means ‘call-to-action,’ and every website should have one (and only one). It’s what you want a visitor to your website to do after they’ve taken a look around. Be as descriptive as possible on this button: try and explain what will happen straight after a person clicks the button.
In my example, I’ve made a button that says Hire me, to emphasise that I’m available to write commissioned pieces. Clicking it opens a new email draft using a ‘mailto’ link.
Step 5: Check how it looks on mobile
In the top right, you’ll see a little mobile phone icon.
Click that to check everything looks good on mobile devices. If you’re using one of the ready-made templates, it should all be good to go without any changes needed.
Step 6: Publish your site
To get your site live, you’ll need to make a free account. You can publish your site for free with the .carrd.co subdomain.
(You can connect your site to a domain name that you’ve bought if you purchase a pro account. Using my affiliate link, you can get 30% off of Carrd Pro. However, this is entirely optional: it unlocks some extra features, but you don’t need to use it for any of these steps.)

Step 7: Keep updating it
Making the website in the first place is the hard part, and it’s now done! So all you have to do is keep adding new links whenever you publish articles across the web, so it stays up to date.
You can go further by adding a custom site icon, or by making separate section views, or by adding contact forms. But none of this is strictly needed: having a basic central hub with all your links is the minimum you need to have an online presence.
And remember, once it’s live, don’t forget to add the link to your Twitter / Instagram bio, email footer, and tell all your friends to check it out!
And you’re done!
You now have a central home for all your writing that looks professional and is easy to update.
That wasn’t so hard, was it?
If you followed this, I’d genuinely love to see what you made. Drop a comment below to share your portfolio. And feel free to reach out to me if you have any questions or want any help!
Update: October 2021
Carrd.co has shareable templates now — so if you want to quickly copy the template I made, click here: https://carrd.co/buy/6f564f109ddf3a2e